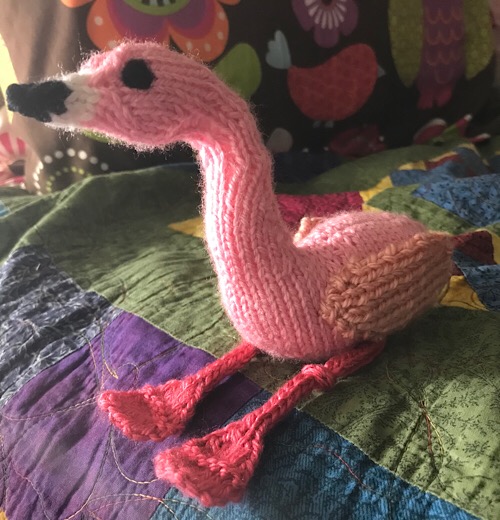
A request from a friend in the show I’m working on.

A request from a friend in the show I’m working on.
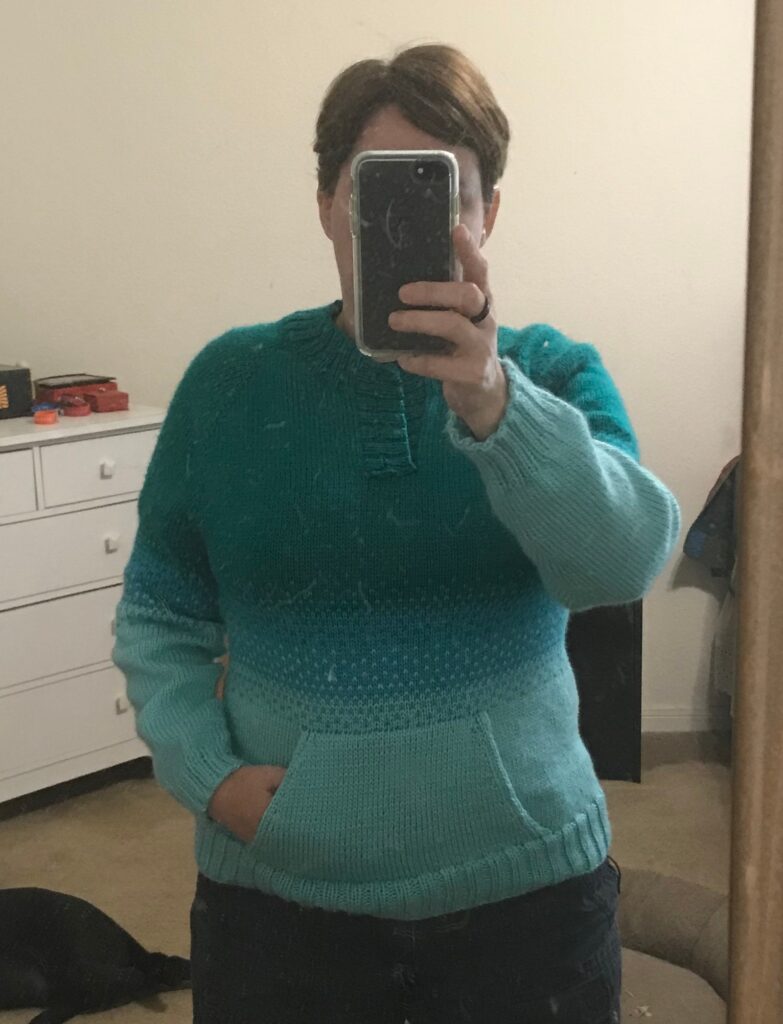
A year and a half in the making, but it’s finally done (minus the buttons on the collar). Just in time for 100F weather!

My knitting group’s doing a washcloth exchange next week. This is the beginning of my contribution.
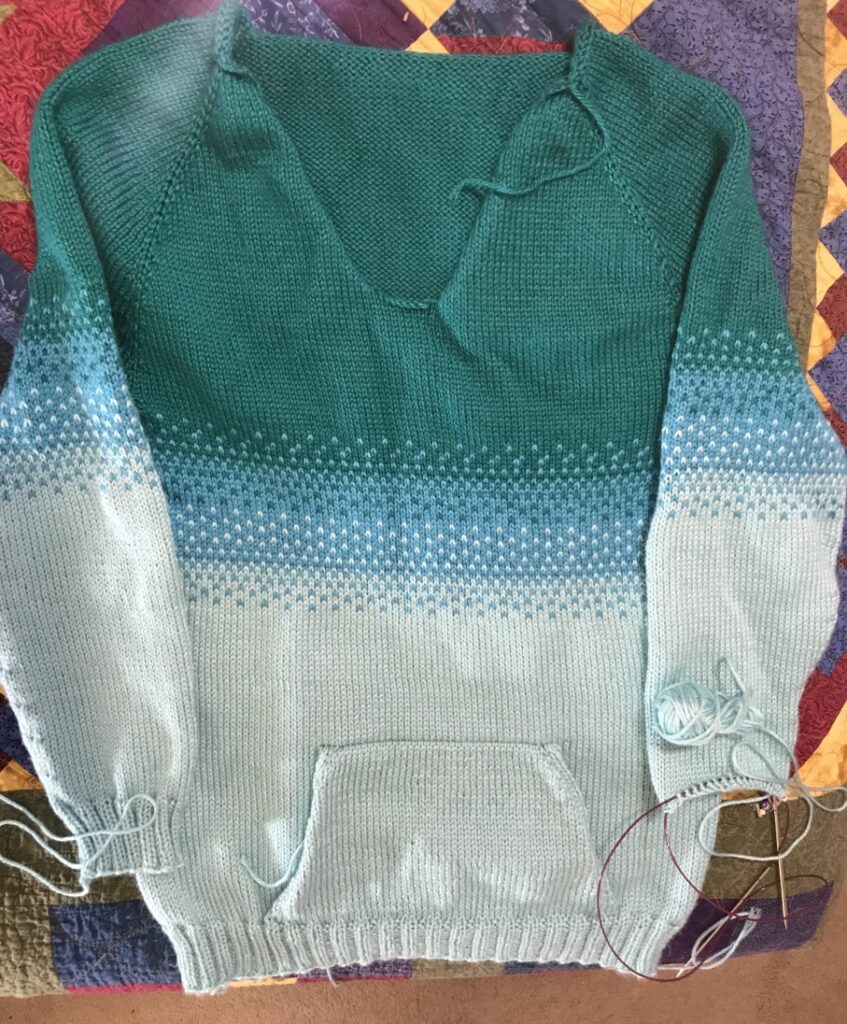
I started this sweater fall before last. The kangaroo pocket is my own addition to the pattern, and I was quite pleased with how it was looking, but then I tried it on, and discovered that, with the length as written, the pocket ended up down by my crotch.
So, it had been sitting in my wips pile until I could convince myself to finish the second sleeve cuff and then frog back the body to the end of the colourwork and make it shorter. Finally started working on it again last night. With any luck, I’ll have it (re)finished within a couple of weeks. (Not that I can wear it right now LOL)
ETA: Forgot to link it to ravelry.
I was making a Companion Cube ornament for a geeky Secret Santa exchange, and I had enough clay left over to make one for myself too, so… new ornament!

(I used Sculpey III, and the Portal 2 cookie cutter set from ThinkGeek to cut out the pieces)

Terry Pratchett is one of my favourite authors, and so when I saw this little guy at Joann’s, I just had to get it and turn it into the Death of Rats. Here’s how I did it:
He’s made of some sort of plastic, so first I used a heat gun on his arm, to get it into a better position for holding the scythe. First I twisted the lower arm to get the hand in to the right orientation, then I did the shoulder and upper arm to lower the arm a bit, and finally I heated the hand and wrapped it around my dowel rod to get a nice grip. Since he’s going to be wearing a robe, it doesn’t matter that his bones are now a bit deformed.

For the scythe blade I took an empty tea light, cut out the bottom and then straightened out the remaining strip. I free-handed a blade shape on a little piece of card, traced it out on the metal strip and then cut it out. I used a couple of dabs of low-temp hot glue to attach it to the dowel rod, which I had already cut to size and painted a darker brown.

Uh-oh, he’s lost his head! I discovered that he was made in pieces and screwed together at various points. This was super convenient, because I wanted the blue pinprick in the eyes effect and this made life a lot easier. I took the head apart, drilled a hole in each eye and then dabbed a bit of black paint around the holes, and inside the skull (the theatre tech in me insisted).

For the lighting, I got a 3v blue LED, a battery case for a 2032 battery and a small slider switch. I cut a hole in the back of the head for the switch. Once I get the hooded robe on it, it won’t be noticeable. After testing my connections, I soldered everything together and added a couple of daubs of hot glue as insulation (couldn’t find the electrical tape), and I glued the battery case to the inside of the skull.

Here he is with his head back on.

I still have to make his robe, and I’ll post a finished picture of him once I’m done.
I’m a big fan of the show Tabletop on Geek and Sundry. I was already familiar with Settlers of Catan before I started watching, but have since been introduced to a whole lot more European style board games, and I love them!
One of my favourite little features on most of these games is the score track along the outside of the game board. Keeping score with paper and pencil isn’t my favourite activity, and these games have spoiled me. So I decided to make myself a score track that I could use on games that don’t have one built in, like Qwirkle. It’s just foam board, and the game markers are painted wooden spools, but it does the job and it was cheap. The supplies cost me less than $10.

Powered by WordPress & Theme by Anders Norén